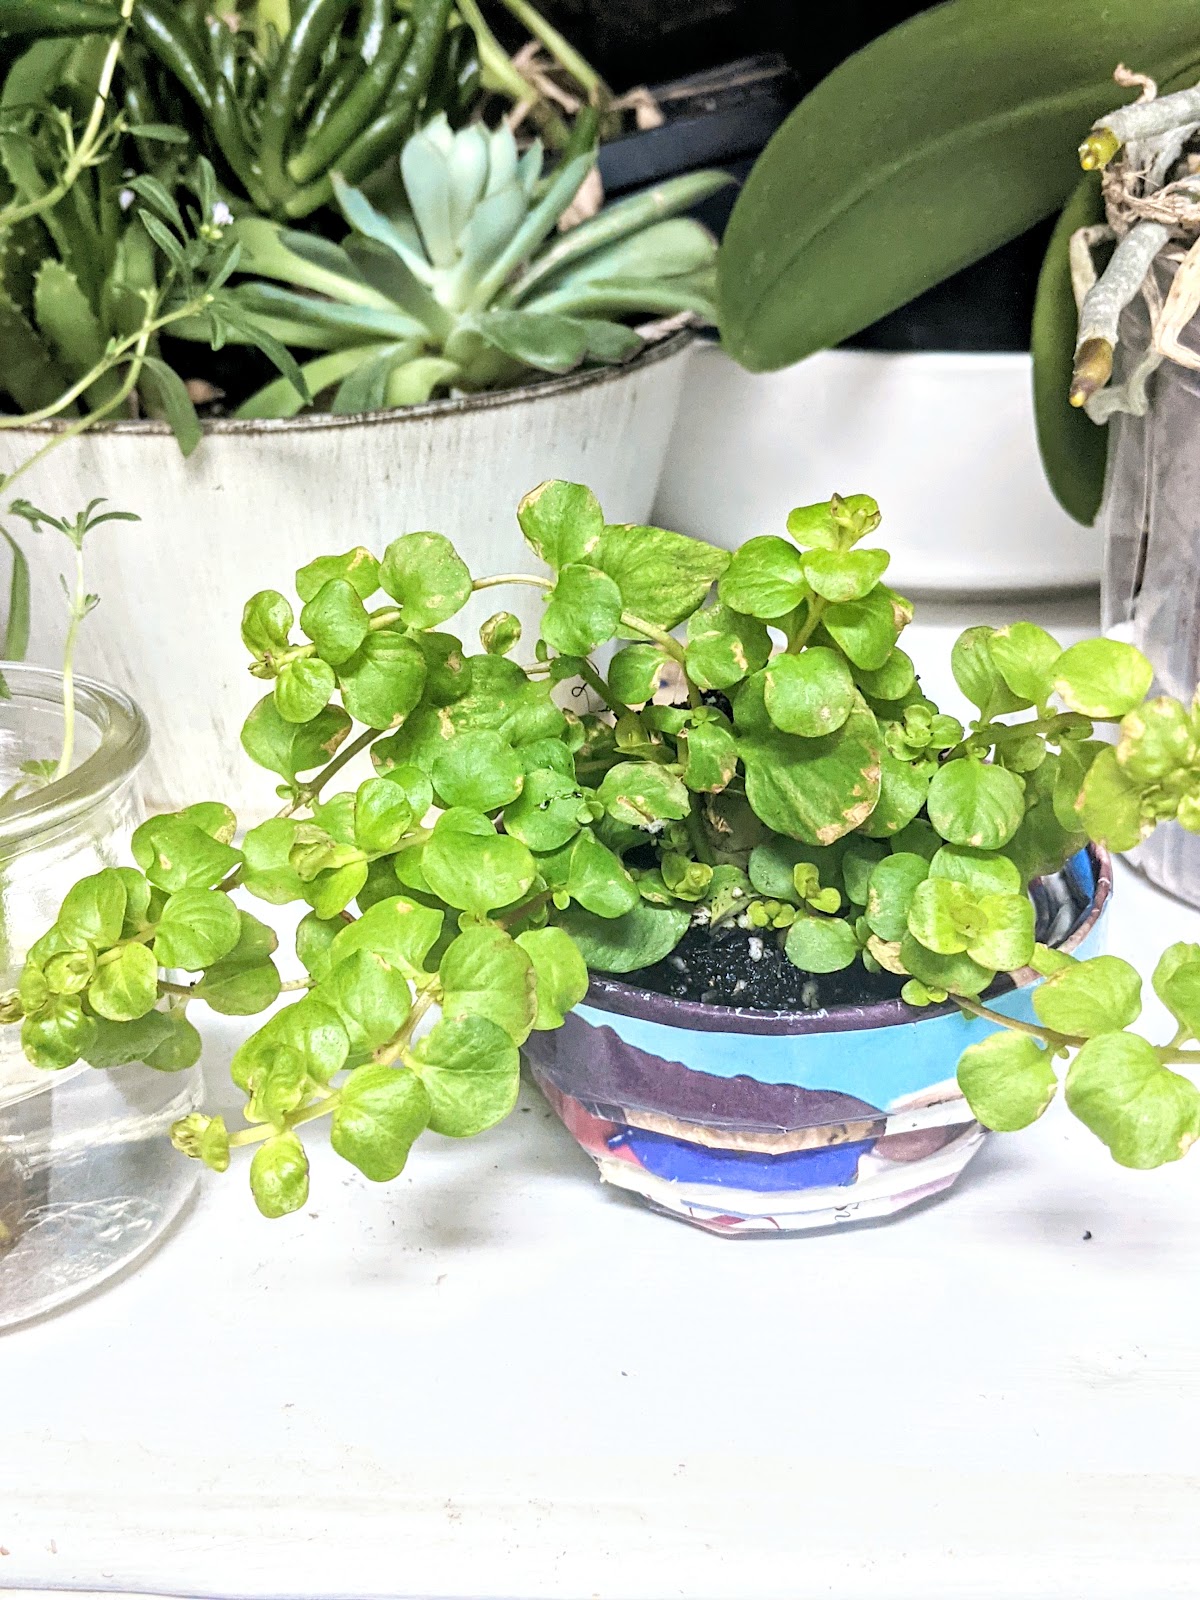
Have some old magazines you don’t know what to do with? Try a DIY bowl using paper coiling techniques! I’m pretty sure this would work with old newspapers too.
This tutorial comes just in time for Earth Day. For my next bowl I want to make it rainbow colored, so I’m going to be more careful during the “Organize” step of this tutorial, haha! I’ll make each strip colored according to the rainbow, so I think it’ll look awesome!
If you try this tutorial and enjoy it, please let me know your thoughts / show me your creations! Leave a comment below 🙂 I’ll be teaching this for ACR next month so I’m looking forward to making another one. Cheers!


Supply list
- A stack of thin papered magazines, at least 4, but the more the better (more colors to choose from)
- Save a puzzle glue, Clear coat, or Mod podge
- Hot glue
- A lot of glue gun sticks
- Clothespins, or large binder clips
- Regular glue stick
- Scissors
- Optional:
- Paint brush
- Paint
Instructions
Note: Images of the following instructions are at the bottom of this document, if you’re a visual person!
- Organize:
- Tear out pages of magazines that have an edge that’s colored, then sort the papers by color (reds, blues, etc)
- Make paper strips:
- Find the edge color that you want your strip to end up as and then flip the page and face it opposite of you.
- If it has a torn edge it’s better to start rolling on that side, but if you like the color you can cut it so it’s mostly straight.
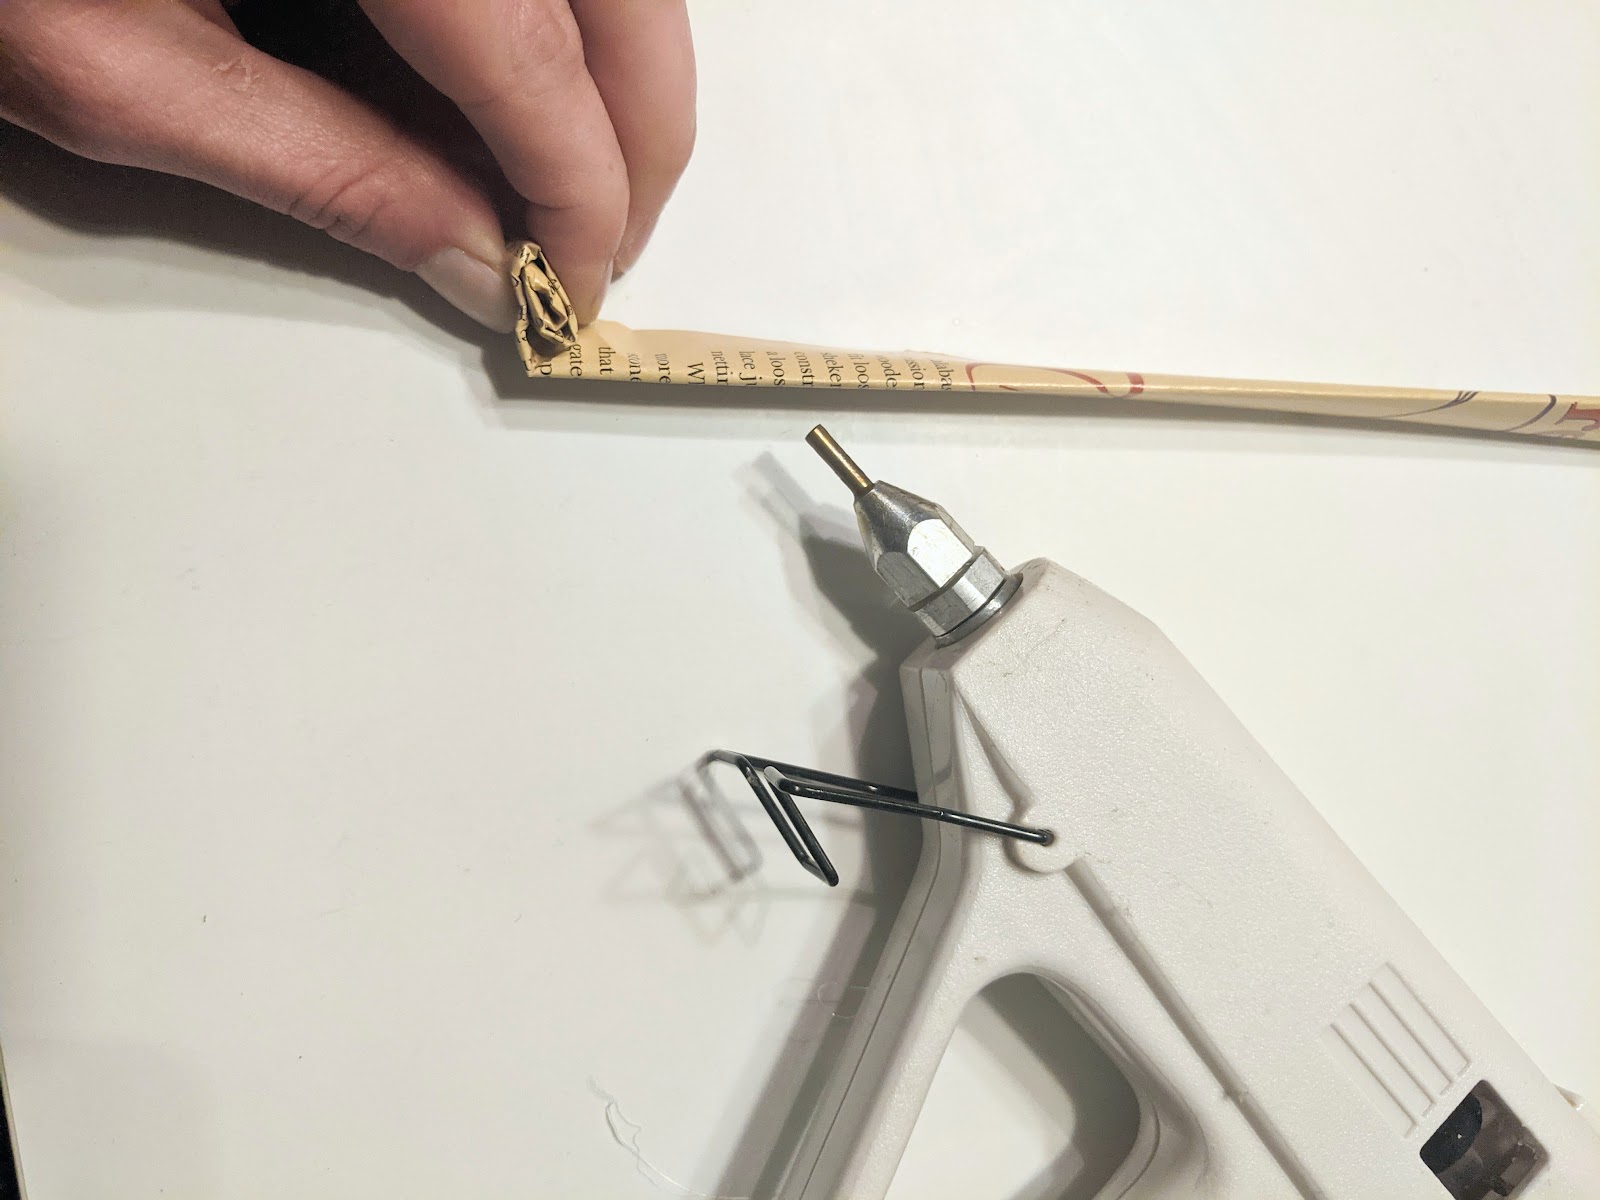
- Fold the paper to about ¼ inch or so, on the long side. Fold it again until it seems sturdy, then you can roll the paper the rest of the way until you get to the end.
- Use the regular glue stick to help the last fold stick to itself. Trim any excess paper with scissors
- Make a few of these with various colored paper.
- Find the edge color that you want your strip to end up as and then flip the page and face it opposite of you.
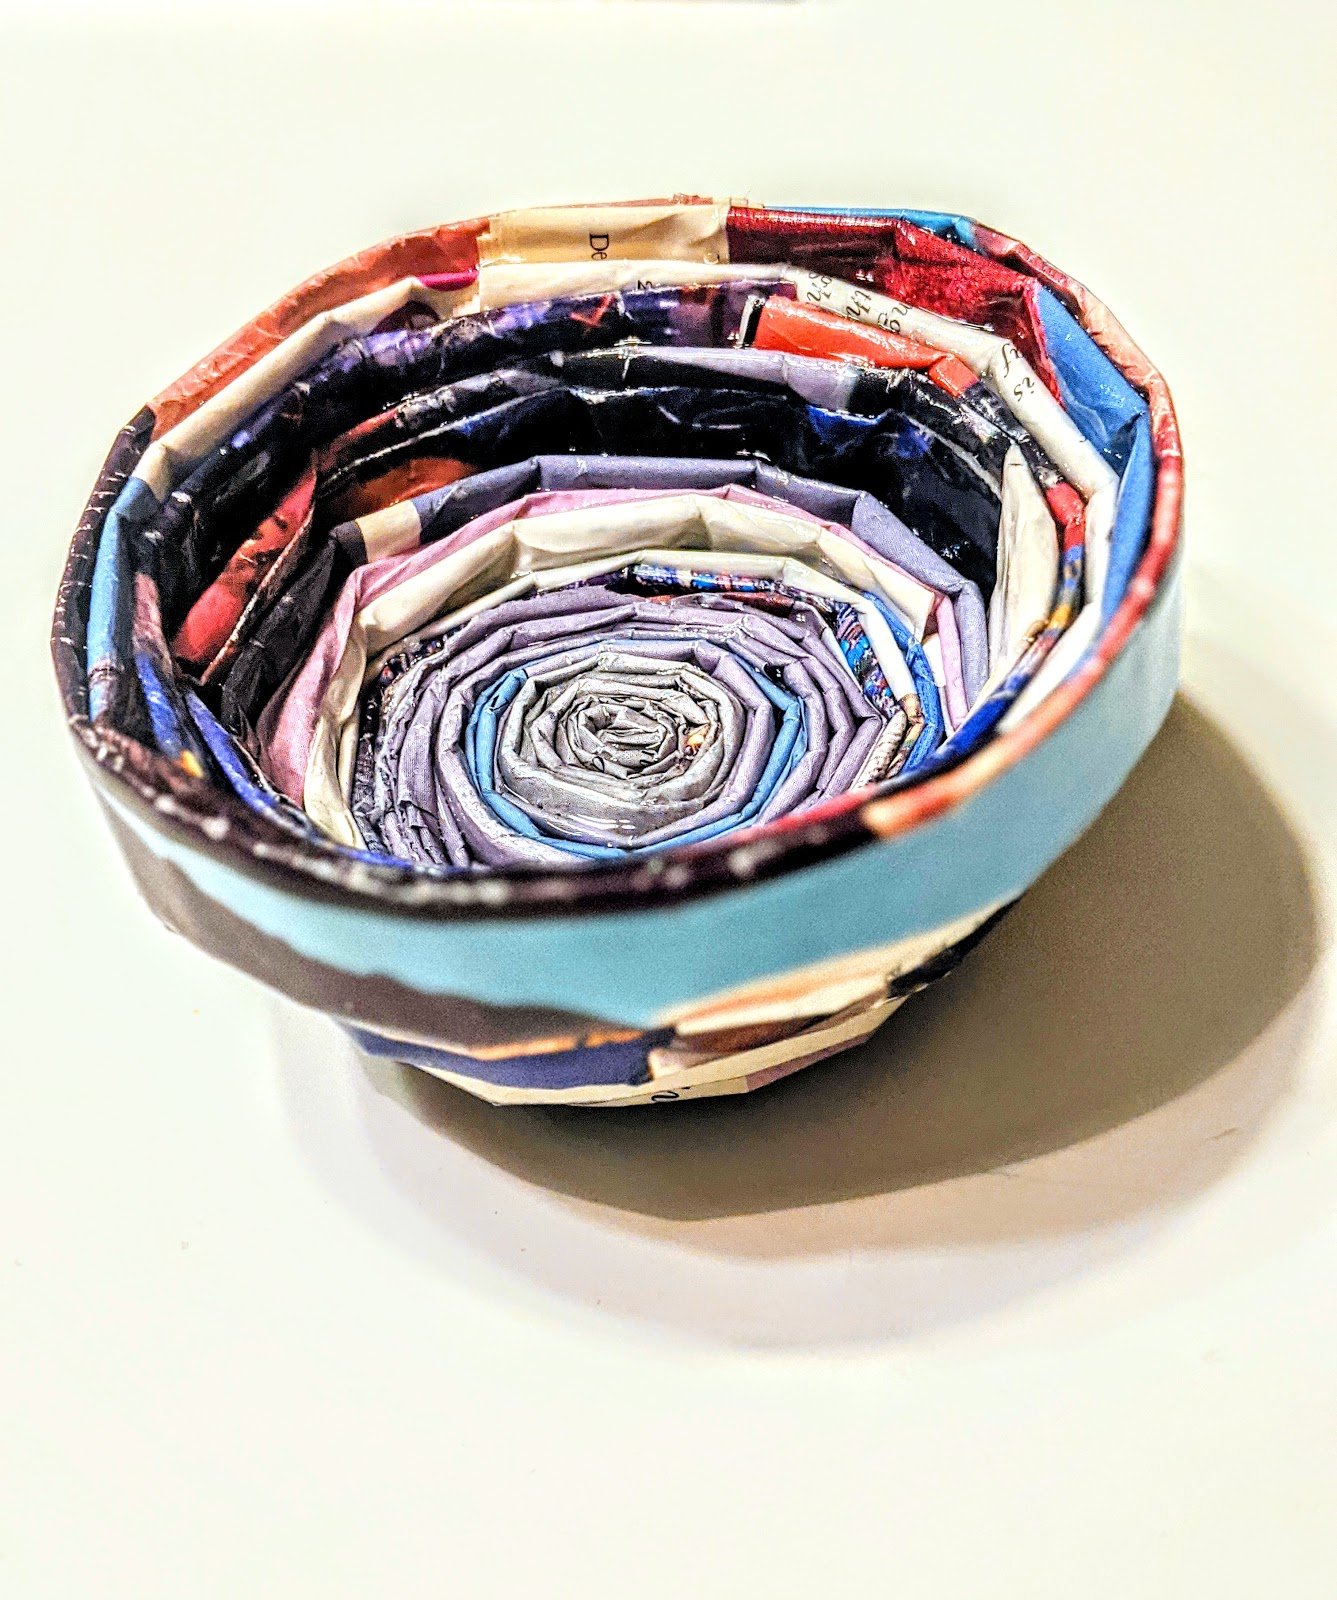
- Start coiling the center of the bowl:
- Start heating up the glue gun
- Select the strip color you want to the bottom center of the bowl to be, and curl it in on itself. Use as much hand pressure as you can to keep it tight.
- Use the glue gun to keep the strip tight and hold its shape as you coil it.
- If you need to take a break use the clothespin / binder clips to hold it in place.
- Keep adding more paper strips until you get a wide disc. The bigger it is, the bigger your bowl will be.
- Once you get to a happy place you can start to create the bowl walls.
- Bowl walls:
- It’s the same step as before except this time you will coil the strip slightly higher than the previous one.
- Each time you add a paper strip, you’ll make it a tad higher, using the glue gun to keep its shape
- Continue until you reach the desired size.
- Top it off with a final ring in your favorite color and make sure to glue it down evenly.
- Final layers
- Optional: you can paint all, parts, or none of the bowl! If you have any areas you’re not pleased with, you can tweak it with paint before adding the clear coat. 🙂
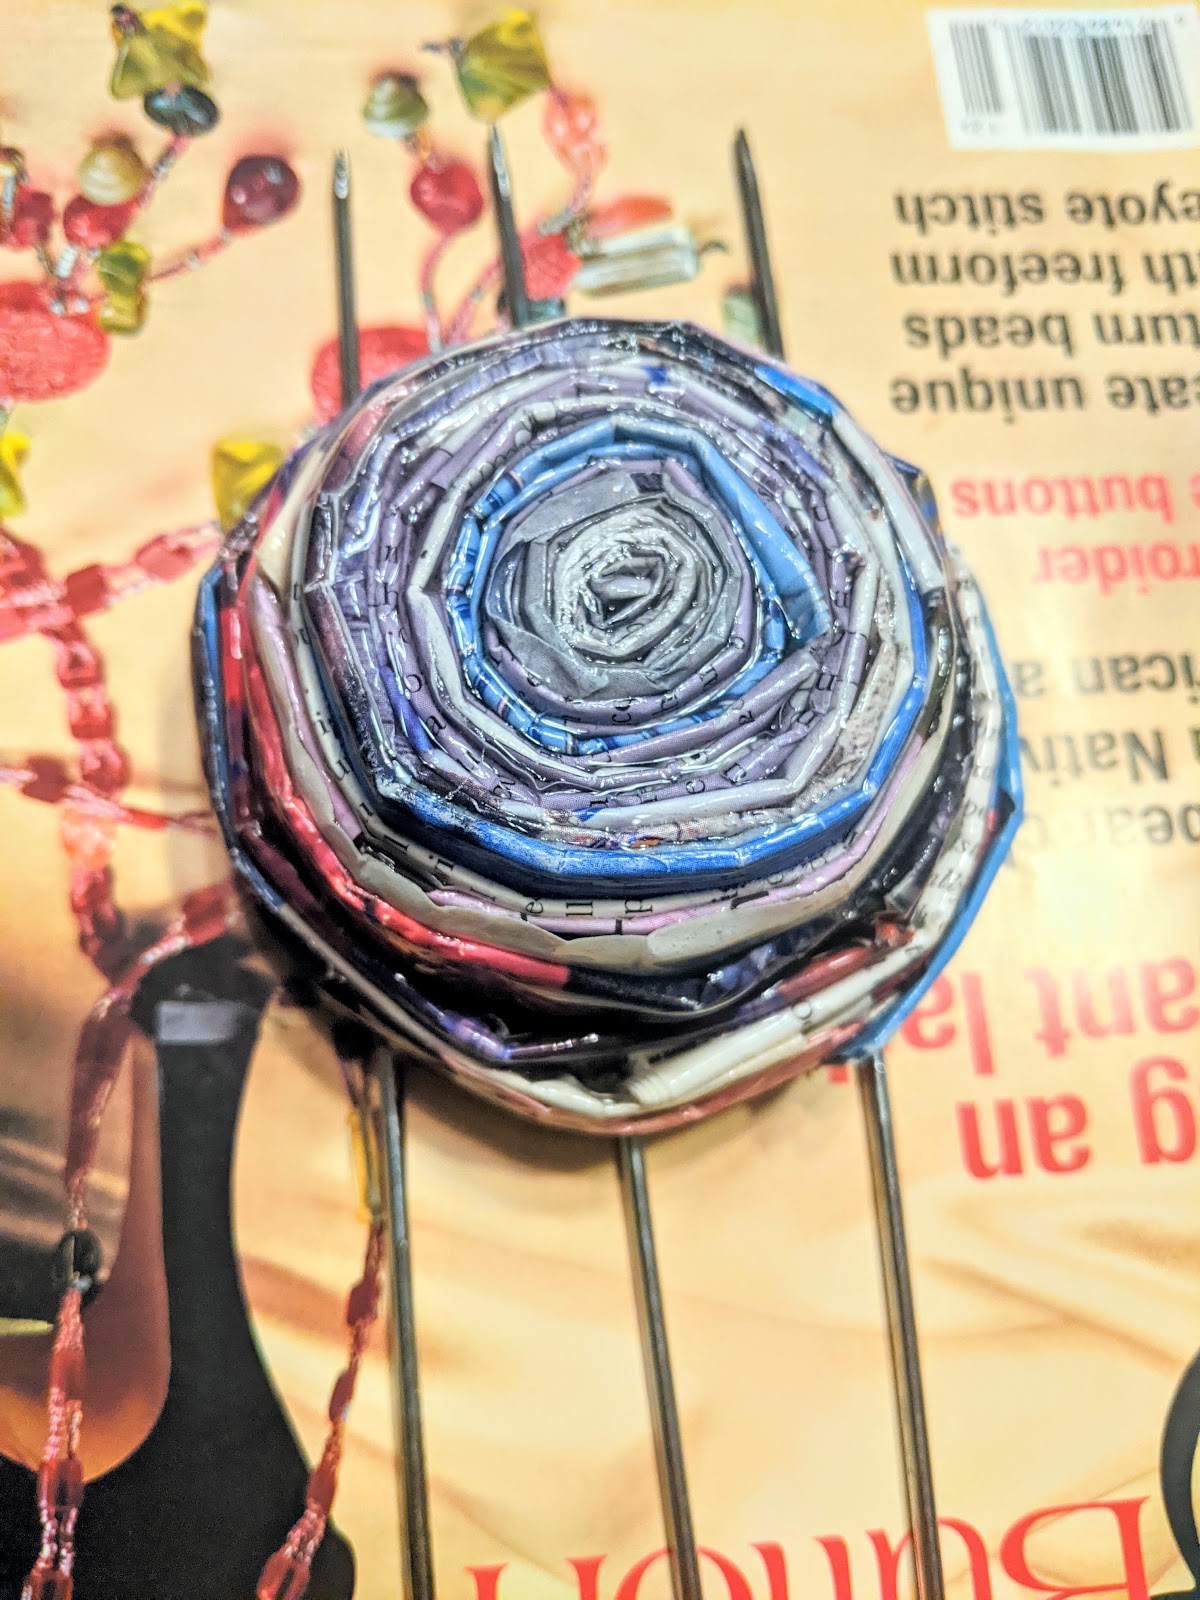
- I used puzzle sealer since it is made to go through cracks and hold the shape. I painted it on thickly and laid it out to dry on metal skewers so it wouldn’t stick itself to the table.
- That’s it! Enjoy your upcycled bowl!
| If I want my bowl to have the strip be yellow, I will flip the paper so I can no longer see the color yellow, and have the torn edge face me / my hands. As shown here: |  |
 |  |
 |  |
 |  |
 |  |
 |  |
 |  |
 |  |